So, you’ve got the itch to transform your living space, but you don’t want to break the bank by hiring professionals.
DIY home improvement projects are the answer you’ve been looking for. Not only do they save you money, but they also offer a sense of accomplishment as you witness your vision come to life.
In this ultimate guide, we’ll walk you through the world of DIY home improvement, providing tips, ideas, and step-by-step instructions to help you embark on your journey.
Why Go DIY for Home Improvement?

Before we dive into the nitty-gritty, let’s address the burning question: Why should you consider DIY home improvement projects? Well, there are several compelling reasons:
1. Cost Savings
Home improvement can be expensive when you hire professionals. DIY projects allow you to allocate your budget more efficiently, prioritizing areas that matter most to you. This means more money in your pocket for other things you love.
2. Personalization
DIY projects put you in the driver’s seat, enabling you to personalize your space to match your unique tastes and needs. Say goodbye to cookie-cutter designs! You have the creative freedom to make your home truly yours.
3. Skill Development
Embarking on DIY projects is an excellent way to learn new skills. From basic carpentry to plumbing, you can become a jack-of-all-trades over time. Imagine the satisfaction of saying, “I fixed that leaky faucet myself!”
4. Satisfaction
Few things compare to the satisfaction of completing a project with your own two hands. The pride that comes with saying, “I did that” is immeasurable. Your home becomes a canvas, and you’re the artist.
Planning Your DIY Home Improvement Project
Now that you’re convinced of the merits of DIY home improvement, let’s get down to brass tacks. Planning is paramount.
1. Setting Clear Goals
First, establish clear goals for your project. What exactly do you want to achieve? Whether it’s a kitchen renovation, a bathroom makeover, or a garden overhaul, define your objectives. Are you seeking more space, better functionality, or just a fresh look?
2. Budgeting Wisely
Next, set a realistic budget. Factor in all the materials, tools, and potential setbacks. It’s better to overestimate than to be caught off guard. Remember, a well-planned budget is the cornerstone of any successful DIY project.
3. Gathering Resources
Gather all the necessary resources. Create a checklist of materials and tools required for your project. Make sure you have everything on hand before you start. This step prevents frustrating delays due to missing items mid-project.
4. Research and Education
Knowledge is power. Take the time to research your project thoroughly. Read books, watch videos, and seek advice from experienced DIYers. The more you know, the smoother your project will go.
The DIY Toolbox: Essential Equipment
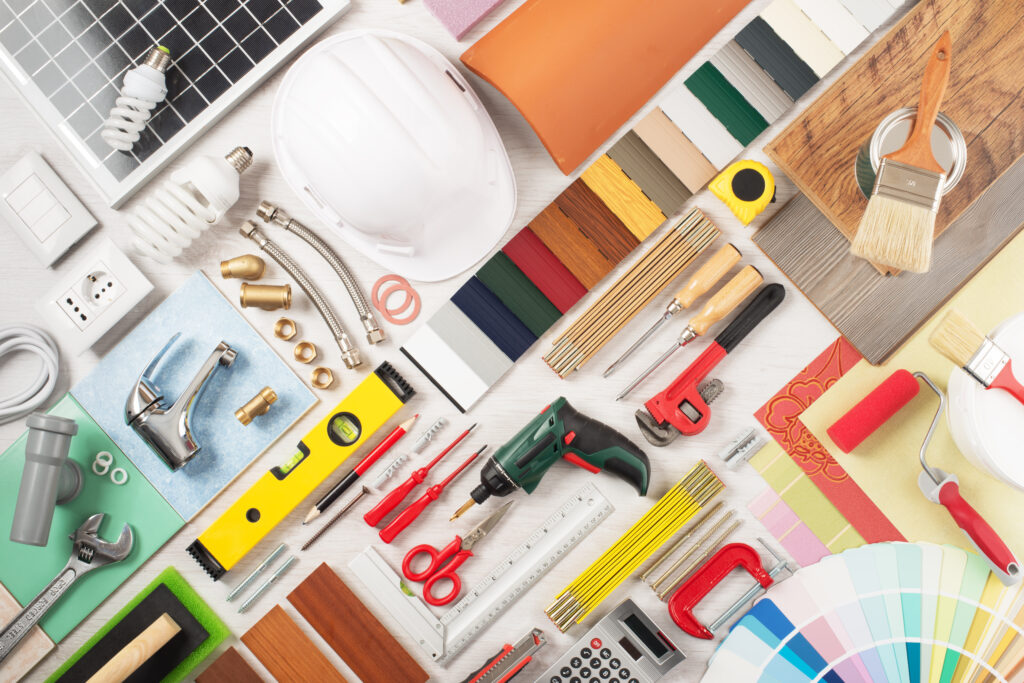
Your toolbox is your best friend in the world of DIY home improvement. Here are some essential items you should have:
1. Measuring Tape and Level
Precision is key in home improvement. A measuring tape and level ensure your work is straight and accurate. Whether you’re hanging a new picture or building a bookshelf, these tools are indispensable.
2. Power Drill
A power drill is your go-to tool for making holes and driving screws. Invest in a quality one; it’ll be worth it. From assembling furniture to installing curtain rods, this versatile tool has you covered.
3. Safety Gear
Safety first! Don’t forget safety glasses, gloves, and a dust mask. Protect yourself while you work. A minor injury can put a major damper on your DIY enthusiasm.
4. Painting Supplies
If your project involves painting, gather brushes, rollers, painter’s tape, and drop cloths. A well-painted room can breathe new life into your space, and the right tools make the job easier.
5. Toolbox Organization
Invest in a toolbox or storage system to keep your tools organized. A clutter-free workspace is not only safer but also more efficient. Knowing where your tools are saves time and frustration.
Starting Your DIY Journey
With your goals defined, a budget set, resources gathered, and tools at the ready, it’s time to roll up your sleeves and start your DIY home improvement project. Remember, simplicity is key:
1. Begin with Small Projects
If you’re new to DIY, start with smaller projects to build confidence. Replacing cabinet hardware or painting a room can be great beginner projects. As you gain experience, you can take on more complex endeavors.
2. Follow Tutorials and Guides
The internet is a treasure trove of DIY tutorials and guides. YouTube and DIY blogs can be your mentors. They provide step-by-step instructions and often include helpful tips and tricks from experienced DIYers.
3. Take Your Time
Rome wasn’t built in a day, and neither should your project be rushed. Take your time to ensure quality workmanship. Rushing can lead to mistakes that might be costly or time-consuming to fix later.
Common DIY Home Improvement Projects
Let’s explore some common DIY home improvement projects you can tackle:
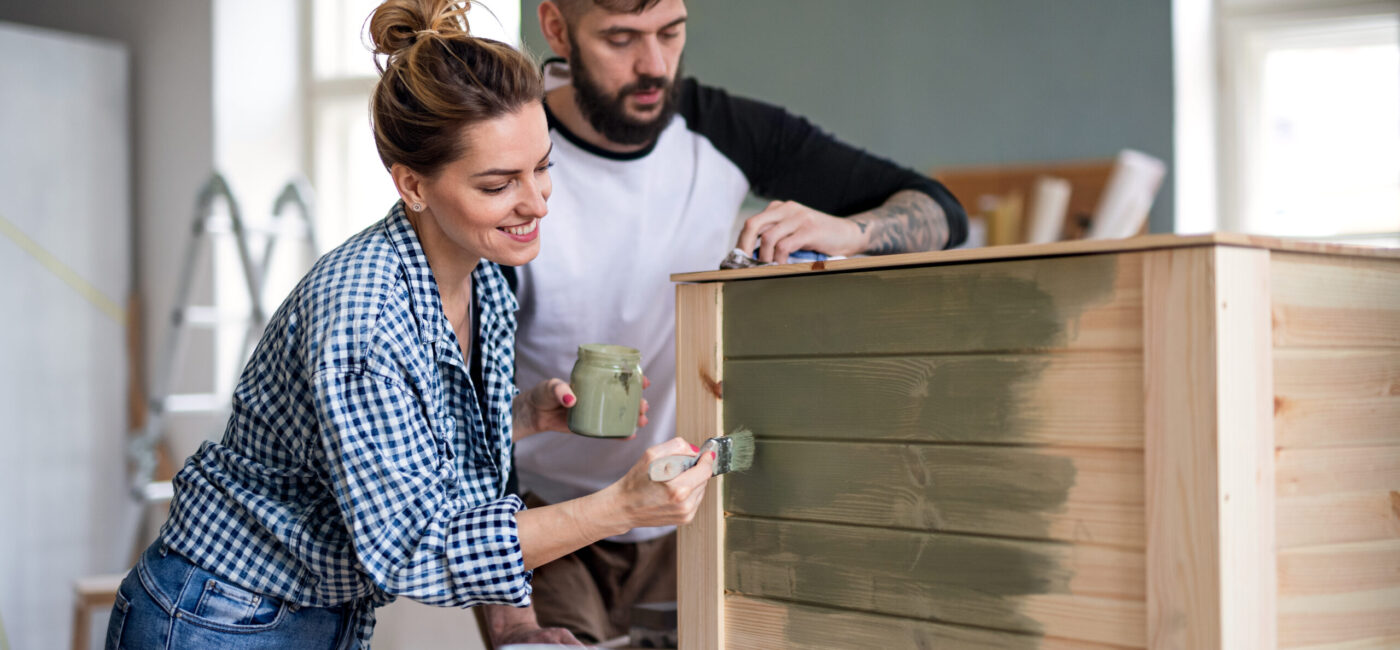
1. Painting Walls
A fresh coat of paint can transform any space. Experiment with colors that resonate with your style. Paint is one of the most cost-effective ways to give your home a facelift.
2. Installing Shelving
Add storage and aesthetics by installing shelves. Floating shelves are trendy and relatively easy to install. They’re perfect for displaying your favorite books, photos, or collectibles.
3. Landscaping
Enhance your curb appeal with landscaping. Plant flowers, lay down mulch, or create a stone pathway. Your outdoor space is an extension of your home, and a well-landscaped yard can make a significant difference.
4. Upgrading Fixtures
New faucets, doorknobs, and lighting fixtures can modernize your home without a major renovation. These small changes can have a big impact, giving your space a fresh and updated look.
5. Building Furniture
For those feeling more adventurous, building your own furniture can be incredibly rewarding. From simple tables to bookshelves, you can create pieces that are both functional and unique to your style.
Maintaining Your DIY Creations
Congratulations! You’ve successfully completed your DIY home improvement project. But your journey doesn’t end here. Proper maintenance is crucial to preserving your hard work.
1. Regular Inspections
Regularly inspect your handiwork. Look out for wear and tear, loose screws, or peeling paint. Addressing minor issues early can prevent them from becoming major headaches.
2. Timely Repairs
Address any issues promptly. Ignoring minor problems can lead to more significant, costlier repairs down the road. Whether it’s a leaky faucet or a squeaky floorboard, fixing it now will save you time and money later.
3. Document Your Work
Keep records of the work you’ve done, including paint colors and materials used. This will be invaluable for future touch-ups
or renovations. Having a record of your DIY journey can also be a source of pride and inspiration.
—
In this extensive guide to DIY home improvement projects, we’ve explored the myriad reasons why DIY is a fantastic option for homeowners. From setting clear goals and budgeting wisely to selecting the right tools and taking on common projects, you’re now armed with the knowledge and confidence to embark on your DIY journey.
Every DIY project is a learning experience, so don’t be afraid to make mistakes and refine your skills along the way. With determination and creativity, you can transform your house into the home of your dreams. Happy DIYing!
Also make sure to visit Sam and Zoey for inspiration and more tools to help you with your projects.